Create a custom camera preview using Swift
If you are looking to create your own camera on iOS, I will demonstrate how I did it on my end.
CameraPreviewView
First of all you need to subclass UIView and inherit its properties. We will use this Swift file for our camera preview.
import UIKit
import AVFoundation

class CameraPreviewView: UIView {

    override class var layerClass: AnyClass {
        return AVCaptureVideoPreviewLayer.self
    }

    var videoPreviewLayer: AVCaptureVideoPreviewLayer {
        return layer as! AVCaptureVideoPreviewLayer
    }

    var session: AVCaptureSession? {
        get {
            return videoPreviewLayer.session
        }
        set {
            videoPreviewLayer.session = newValue
        }
    }
}
AVCaptureVideoPreviewLayeris a subclass ofCALayerthat you use to display video as it’s captured by an input device.
Storyboard UI
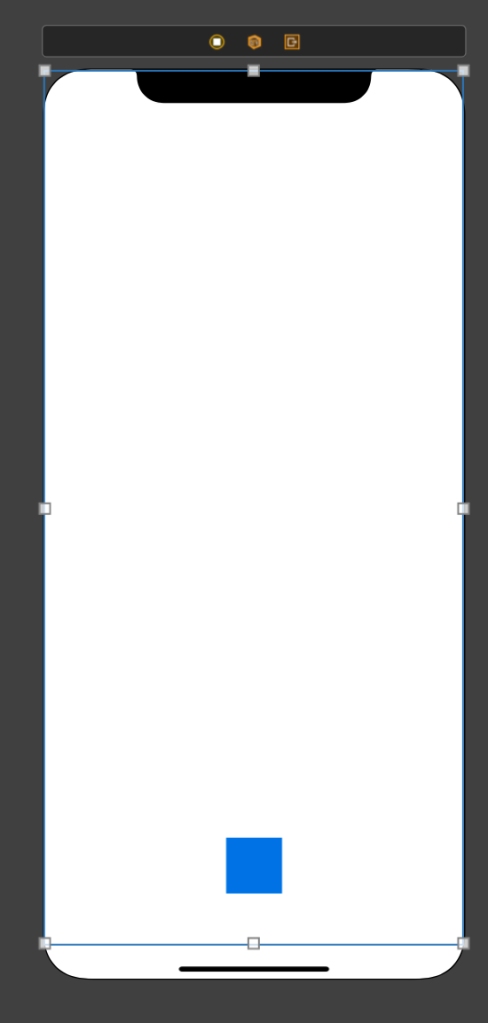
Drag a UIView that should fill up the whole screen. Add the necessary constraints at each border. Then place a UIButton at the lower part and also add the necessary constraints. This UIButton should serve as the record button.
Take note that the UIButton should be on top of the camera preview UIView as not to hide it once the preview is shown.
Click the UIView and add CameraPreviewView as the custom class.

CaptureViewController
In our ViewController above, create a file called CaptureViewController.swift and use it as the custom class. Then, wire the camera preview UIView and UIButton outlets. Then import AVFoundation and add the necessary classes like the code below.
import UIKit
import AVFoundation
import OSLog

class CaptureViewController: UIViewController {

    @IBOutlet weak var cameraPreviewView: CameraPreviewView!
    @IBOutlet weak var captureButton: UIButton!
    // An object that manages capture activity and coordinates the flow of data from input devices to capture outputs
    private let captureSession = AVCaptureSession()
    // A capture output that records video and audio to a QuickTime movie file.
    private let videoCaptureOutput = AVCaptureMovieFileOutput()
    // A capture input that provides media from a capture device to a capture session.
    private var activeCaptureDeviceInput: AVCaptureDeviceInput!
    private let logger = Logger()
    private let sessionQueue = DispatchQueue(label: "Capture Session")

    override func viewDidAppear(_ animated: Bool) {
        super.viewDidAppear(animated)
        initCaptureSession()
    }

    private func initCaptureSession() {
        cameraPreviewView.session = captureSession
        // First of all ask permission from the user
        if AVCaptureDevice.authorizationStatus(for: .video) == .authorized {
            // Start capturing video
            startVideoSession()
        } else if AVCaptureDevice.authorizationStatus(for: .video) == .notDetermined {
            // Request permission
            AVCaptureDevice.requestAccess(for: .video, completionHandler: { [self]
                granted in
                if granted {
                    logger.debug("Video capture device granted? \(granted)")
                    startVideoSession()
                }
            })
        }
    }

    private func startVideoSession() {
        captureSession.beginConfiguration()
        captureSession.sessionPreset = .hd4K3840x2160
        // Setup camera
        let videoDevice = AVCaptureDevice.default(.builtInWideAngleCamera, for: .video, position: .back)
        guard let videoDeviceInput = try? AVCaptureDeviceInput(device: videoDevice!) else {
            return
        }
        if captureSession.canAddInput(videoDeviceInput) {
            captureSession.addInput(videoDeviceInput)
            activeCaptureDeviceInput = videoDeviceInput
        }
        // Setup microphone
        let audioDevice = AVCaptureDevice.default(for: .audio)
        guard let audioDeviceInput = try? AVCaptureDeviceInput(device: audioDevice!) else {
            return
        }
        if captureSession.canAddInput(audioDeviceInput) {
            captureSession.addInput(audioDeviceInput)
        }
        // Setup movie output
        if captureSession.canAddOutput(videoCaptureOutput) {
            captureSession.addOutput(videoCaptureOutput)
        }
        DispatchQueue.main.async {
            self.cameraPreviewView.videoPreviewLayer.connection?.videoOrientation = .portrait
        }
        captureSession.commitConfiguration()
        captureSession.startRunning()
    }

}
That's it. Try running it on a connected device and not on the emulator.